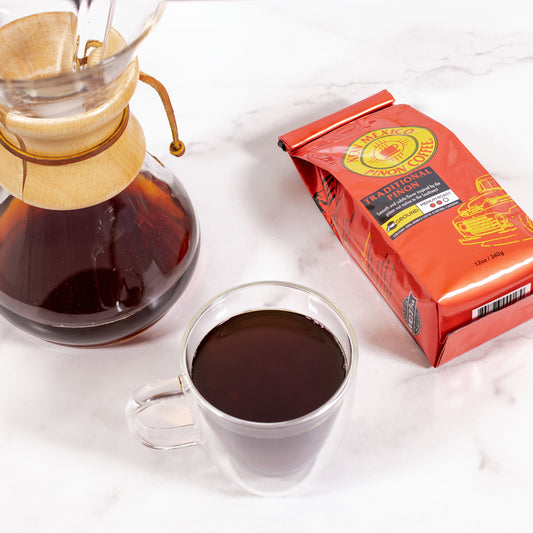
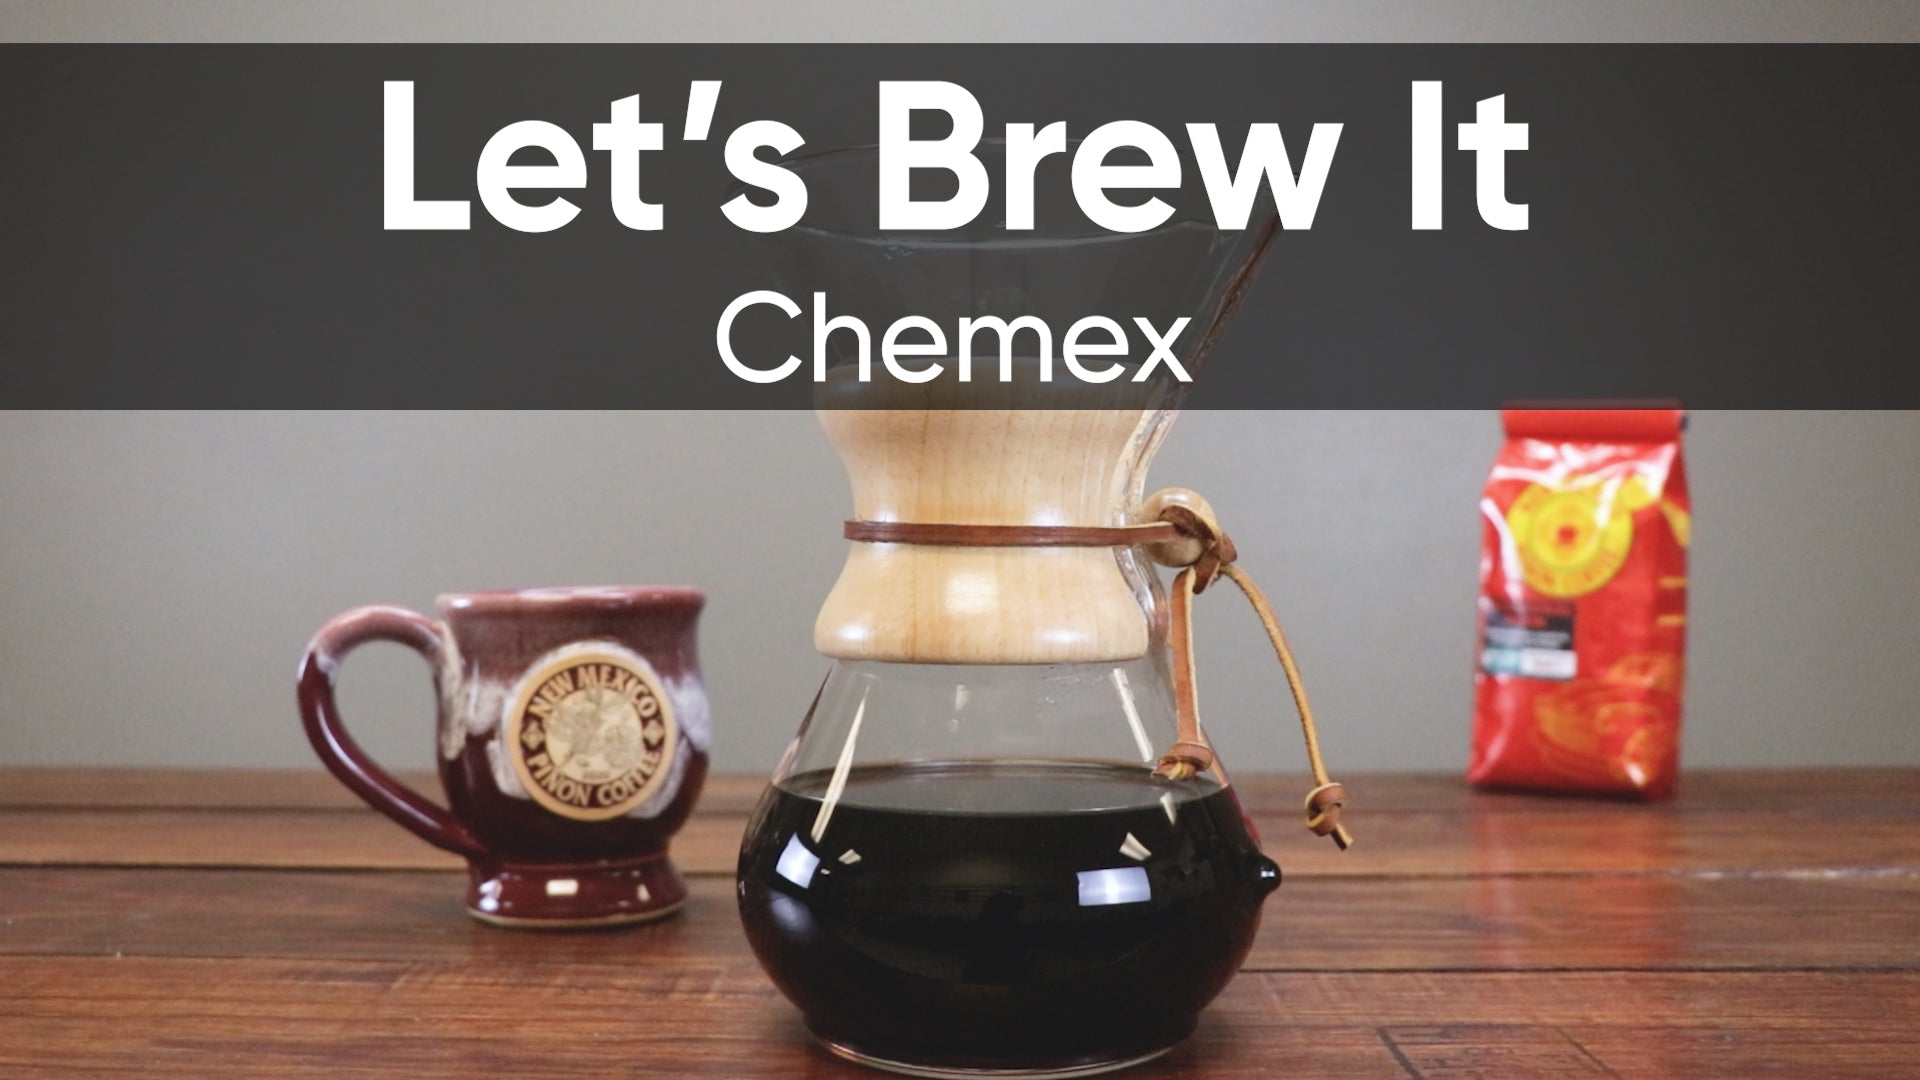
Let's Brew It: Chemex

What You Need
-
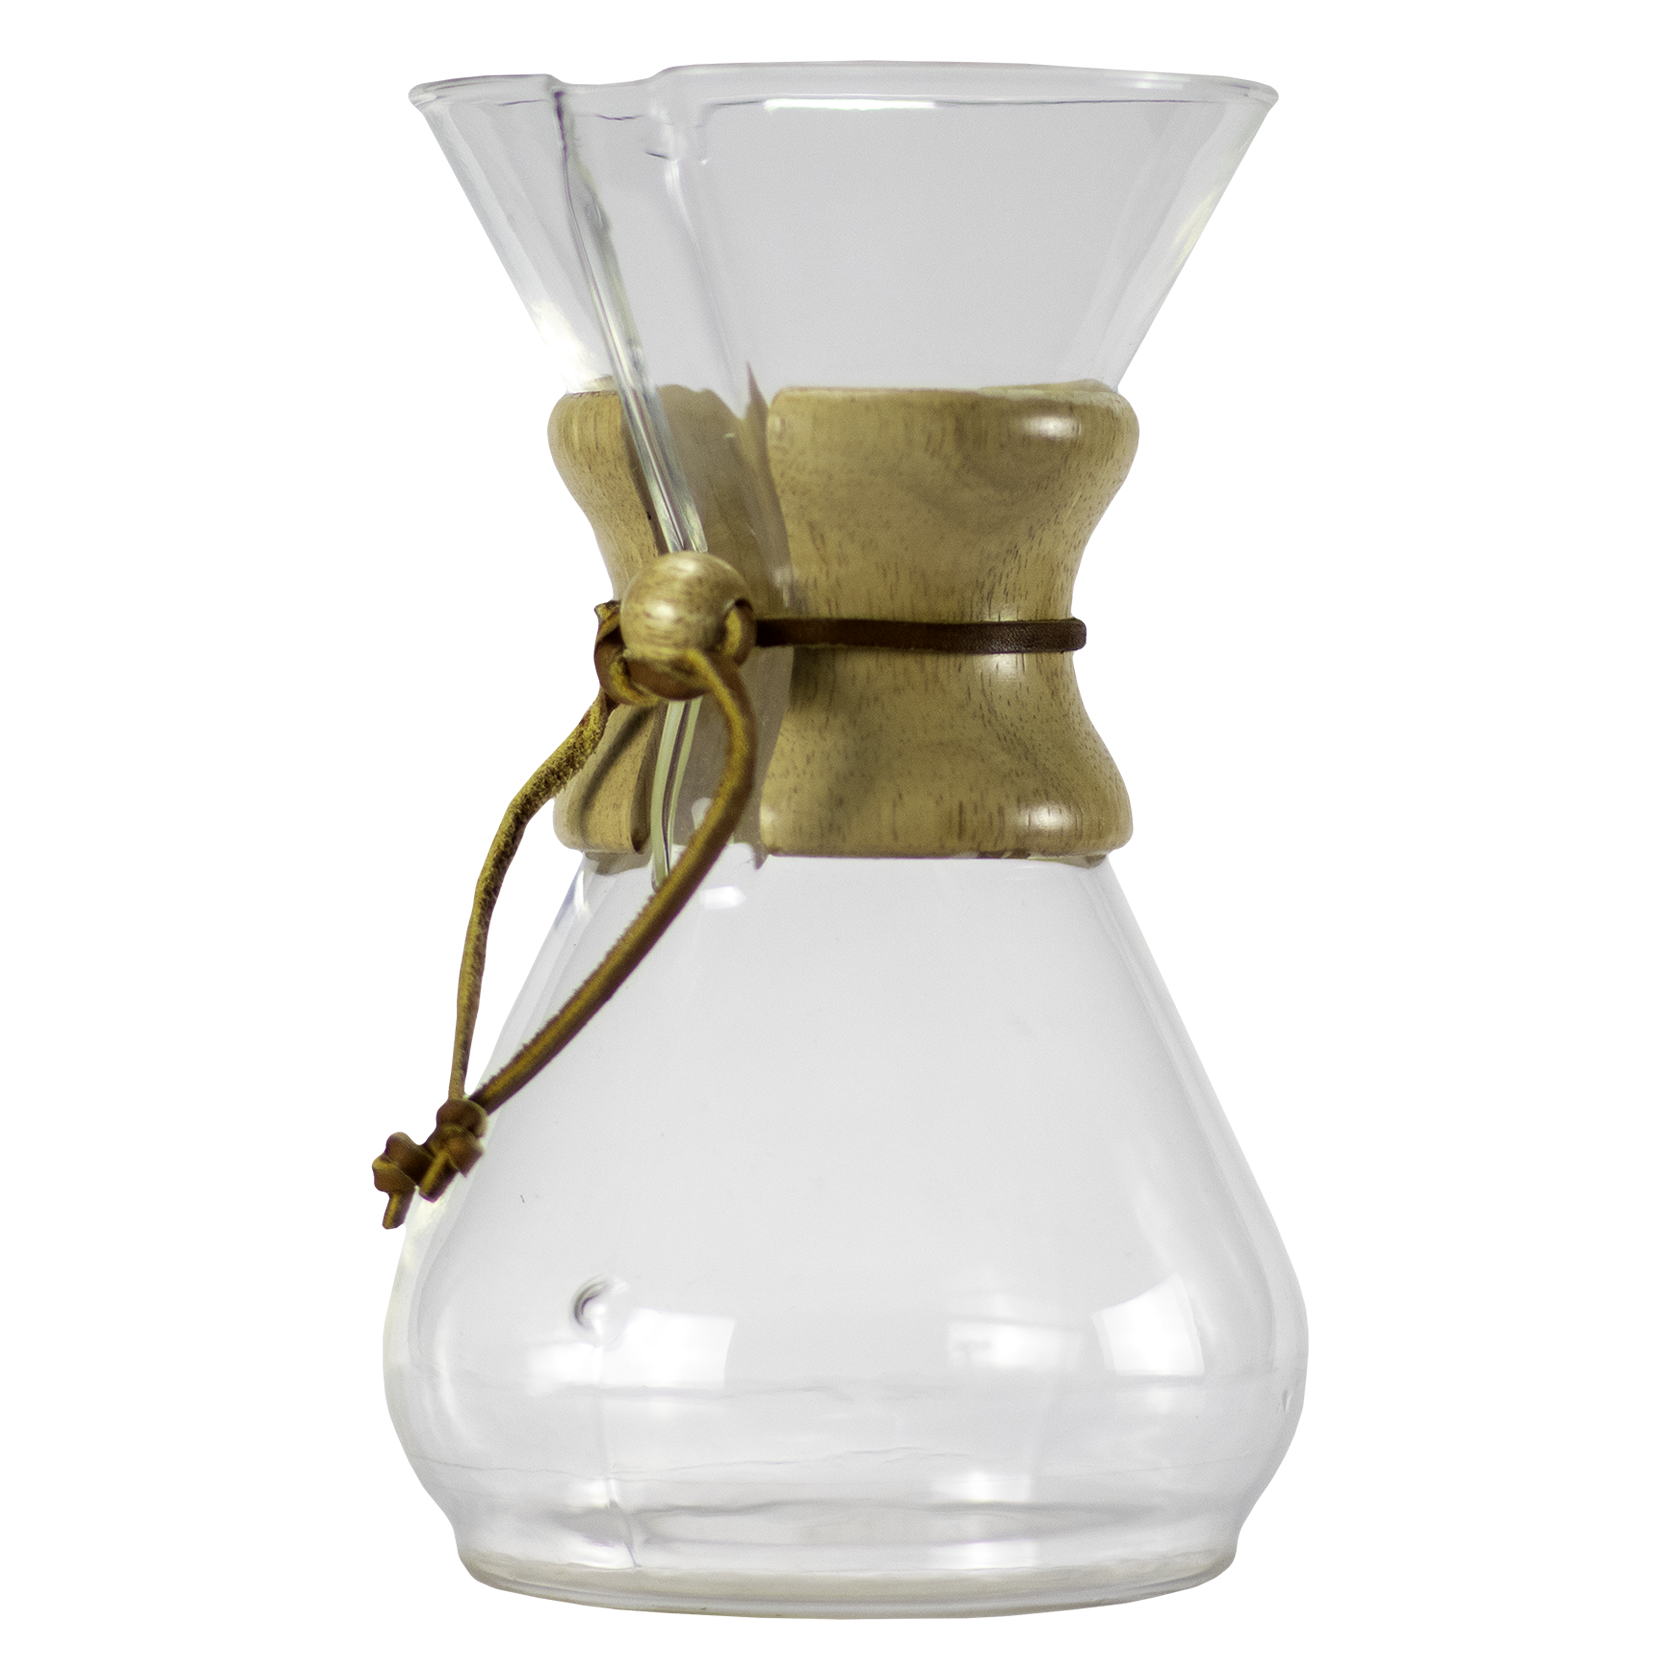
Chemex 6 Cup Classic
-
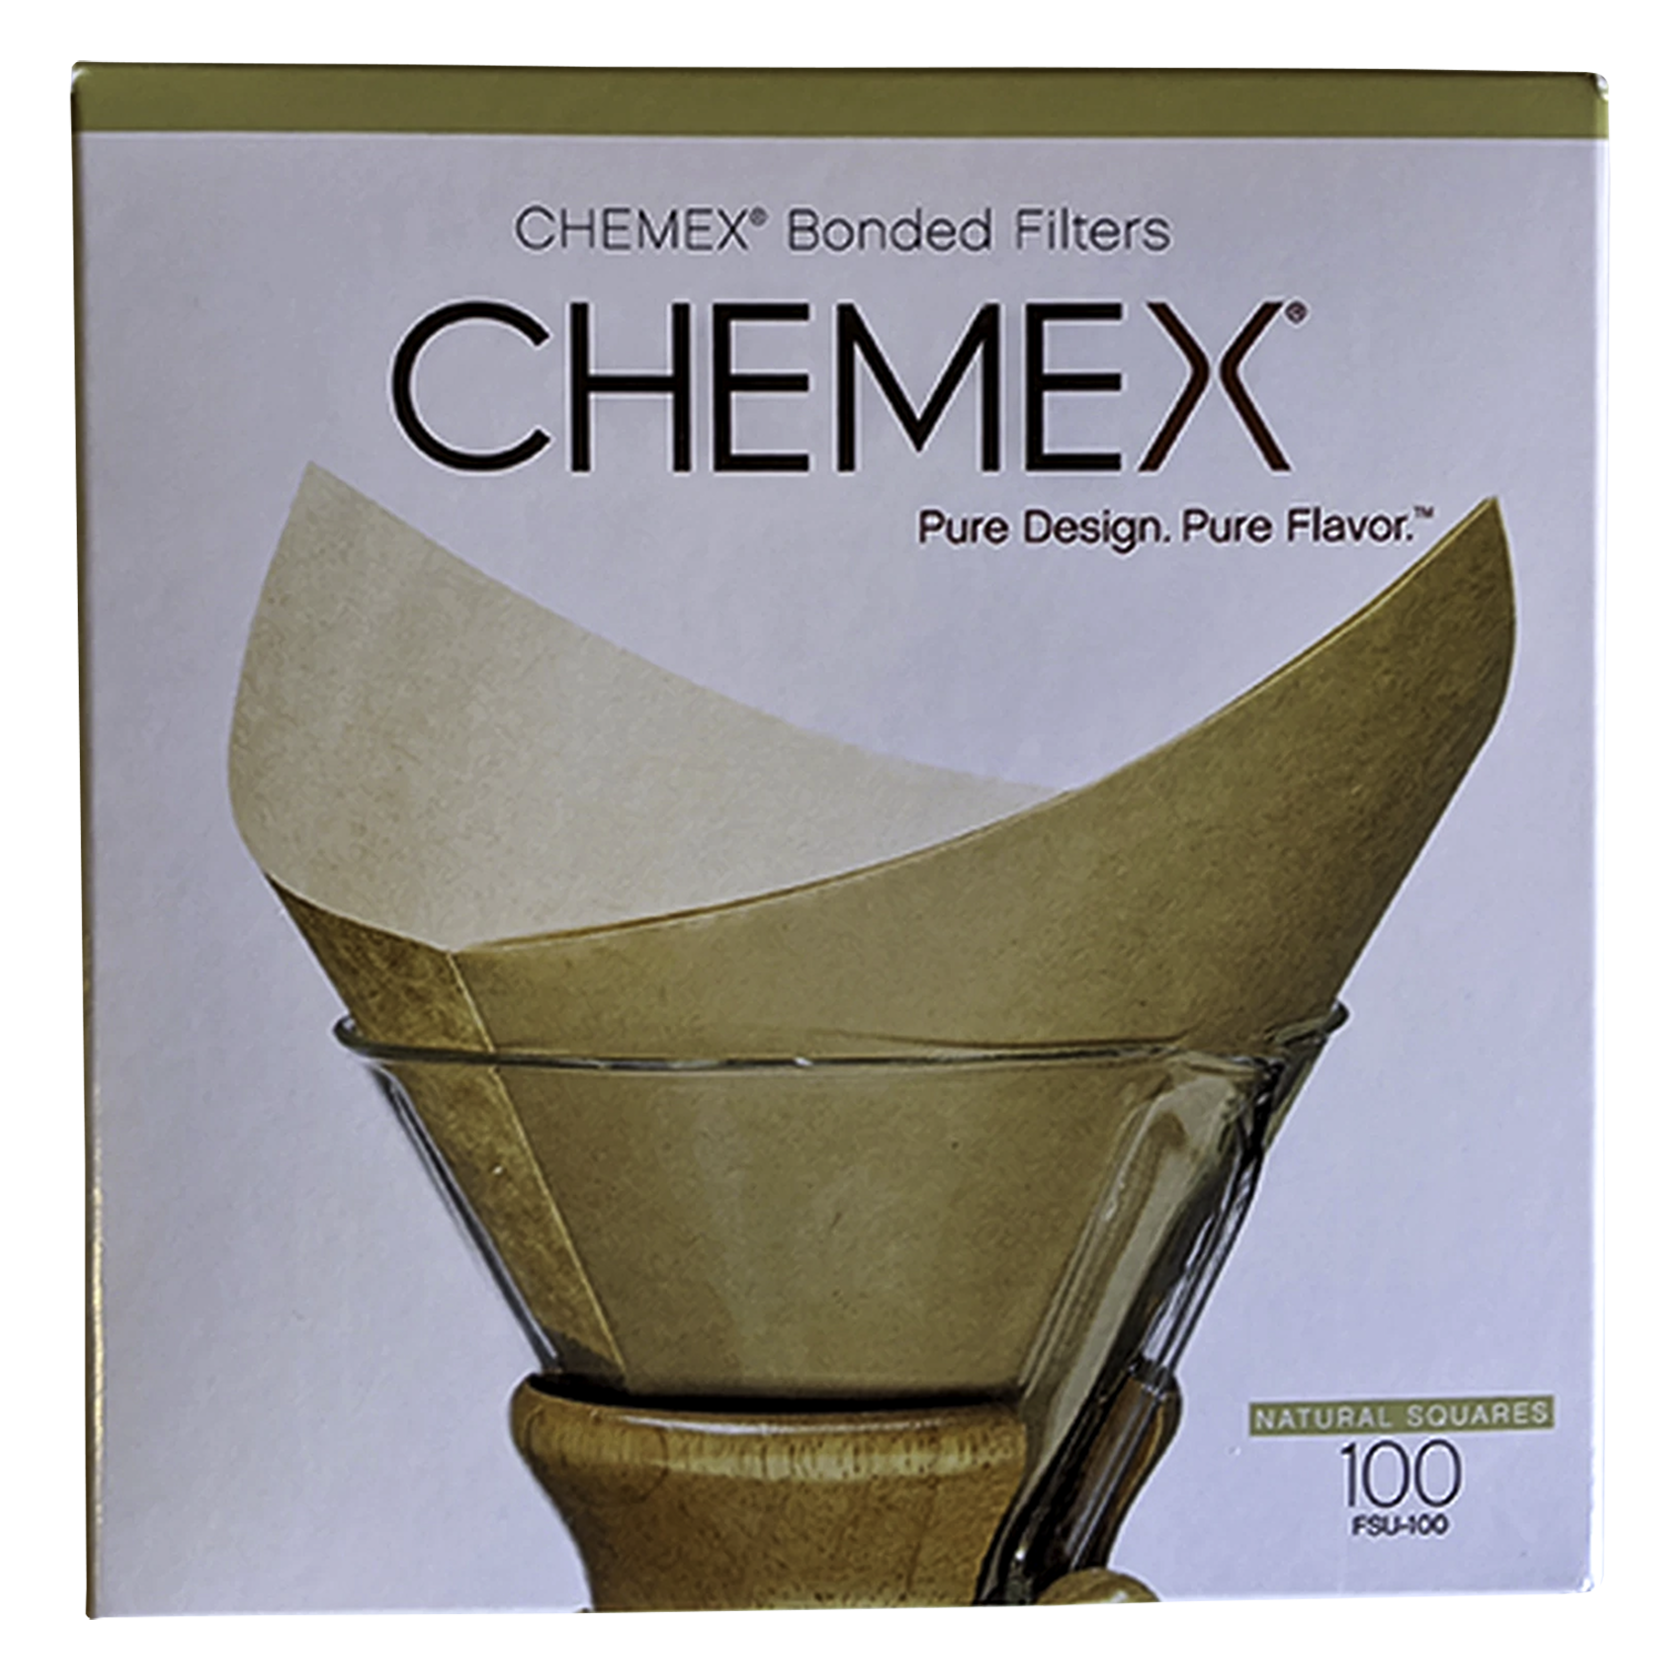
Chemex Paper Filters
-
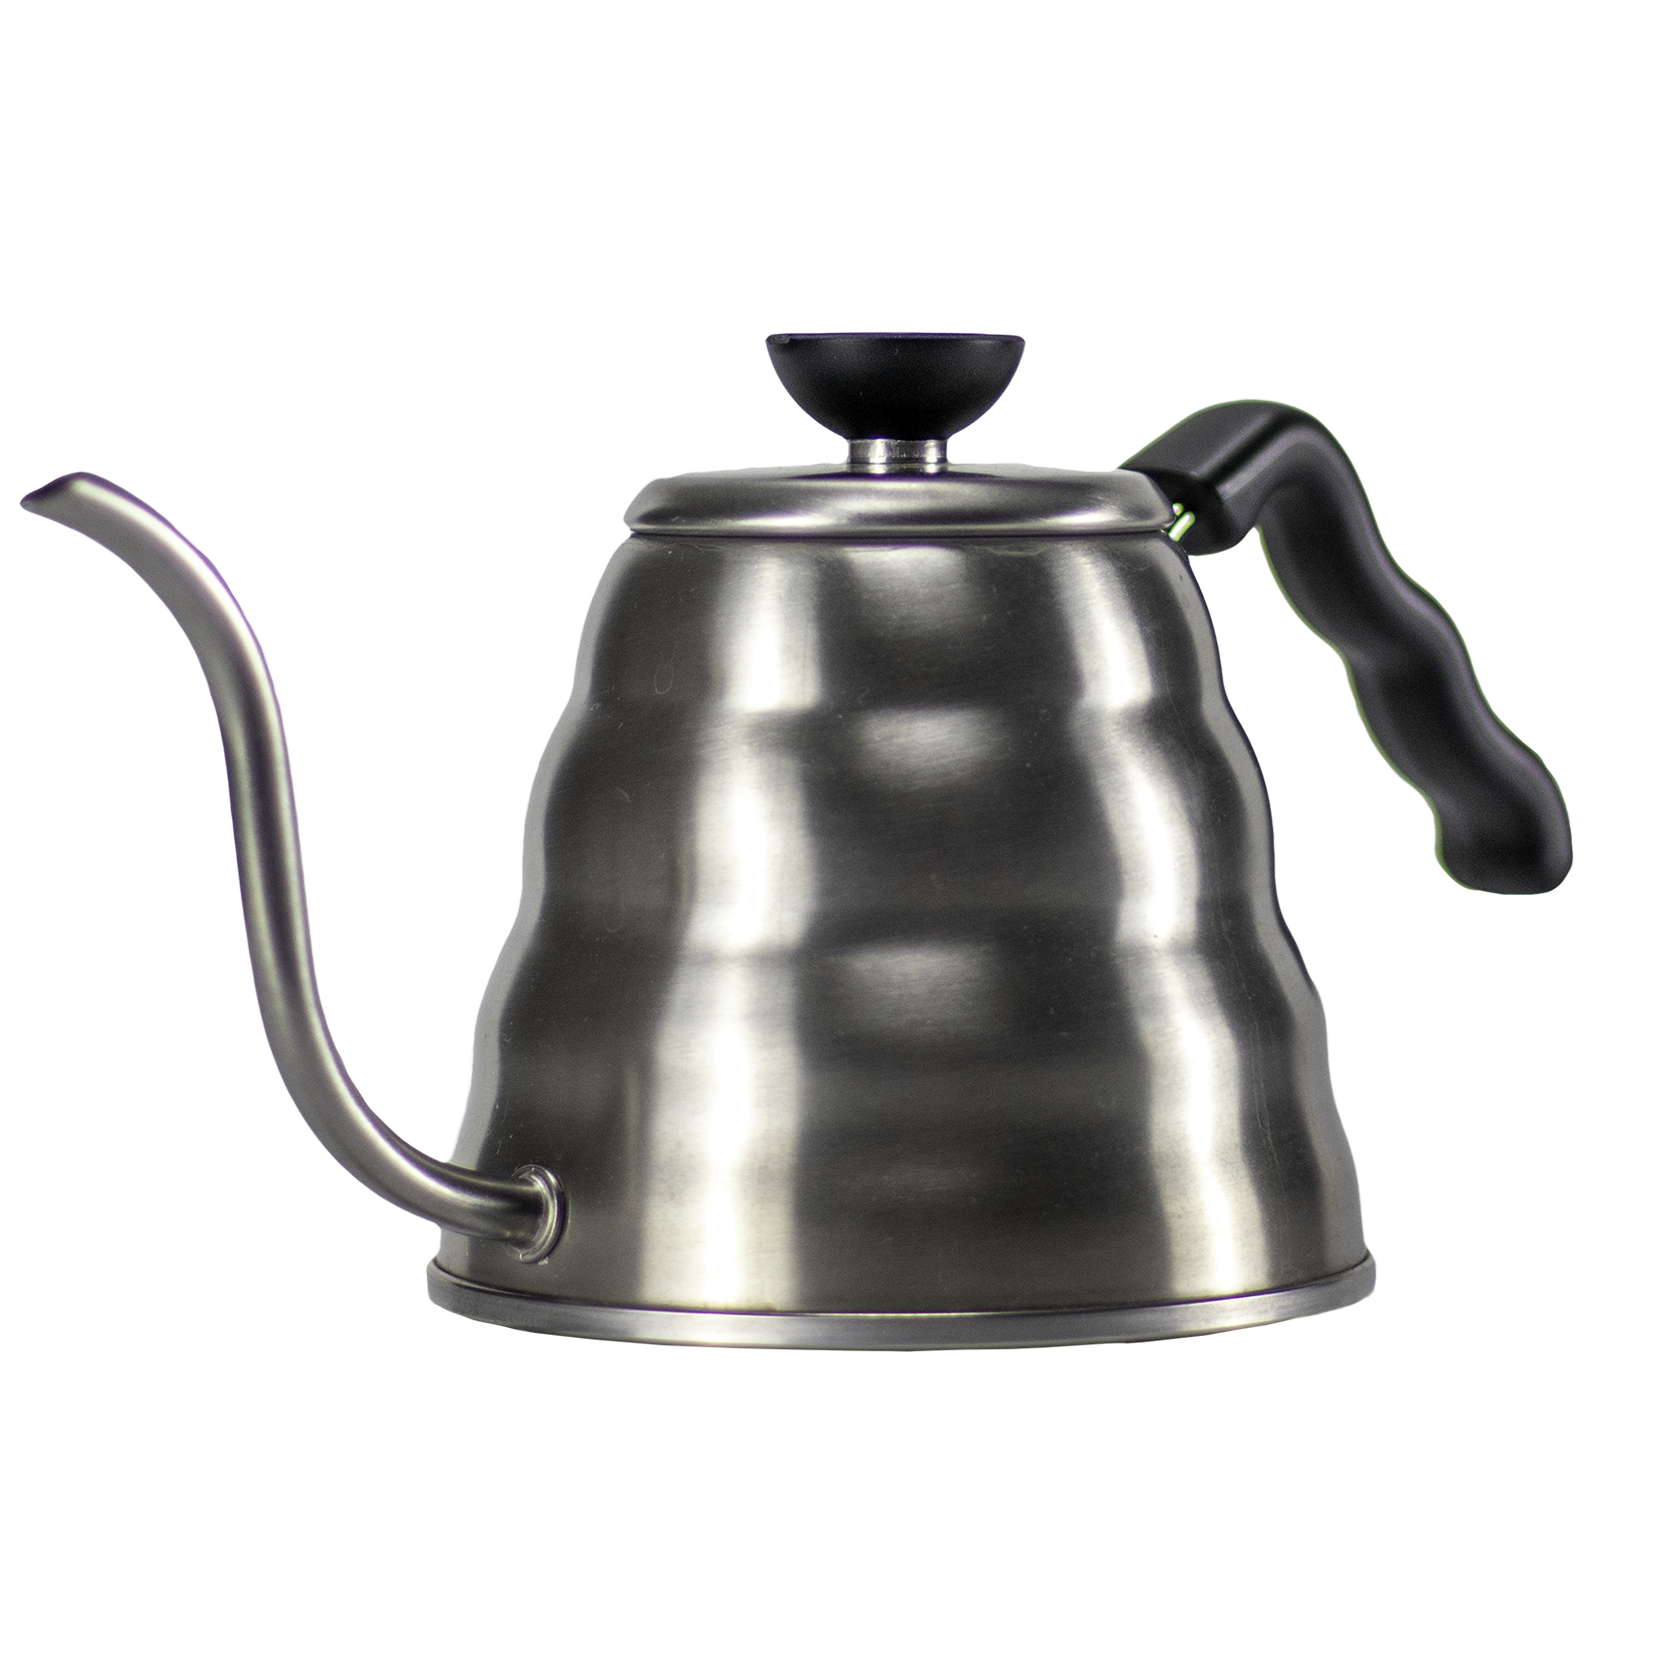
Gooseneck Kettle
-
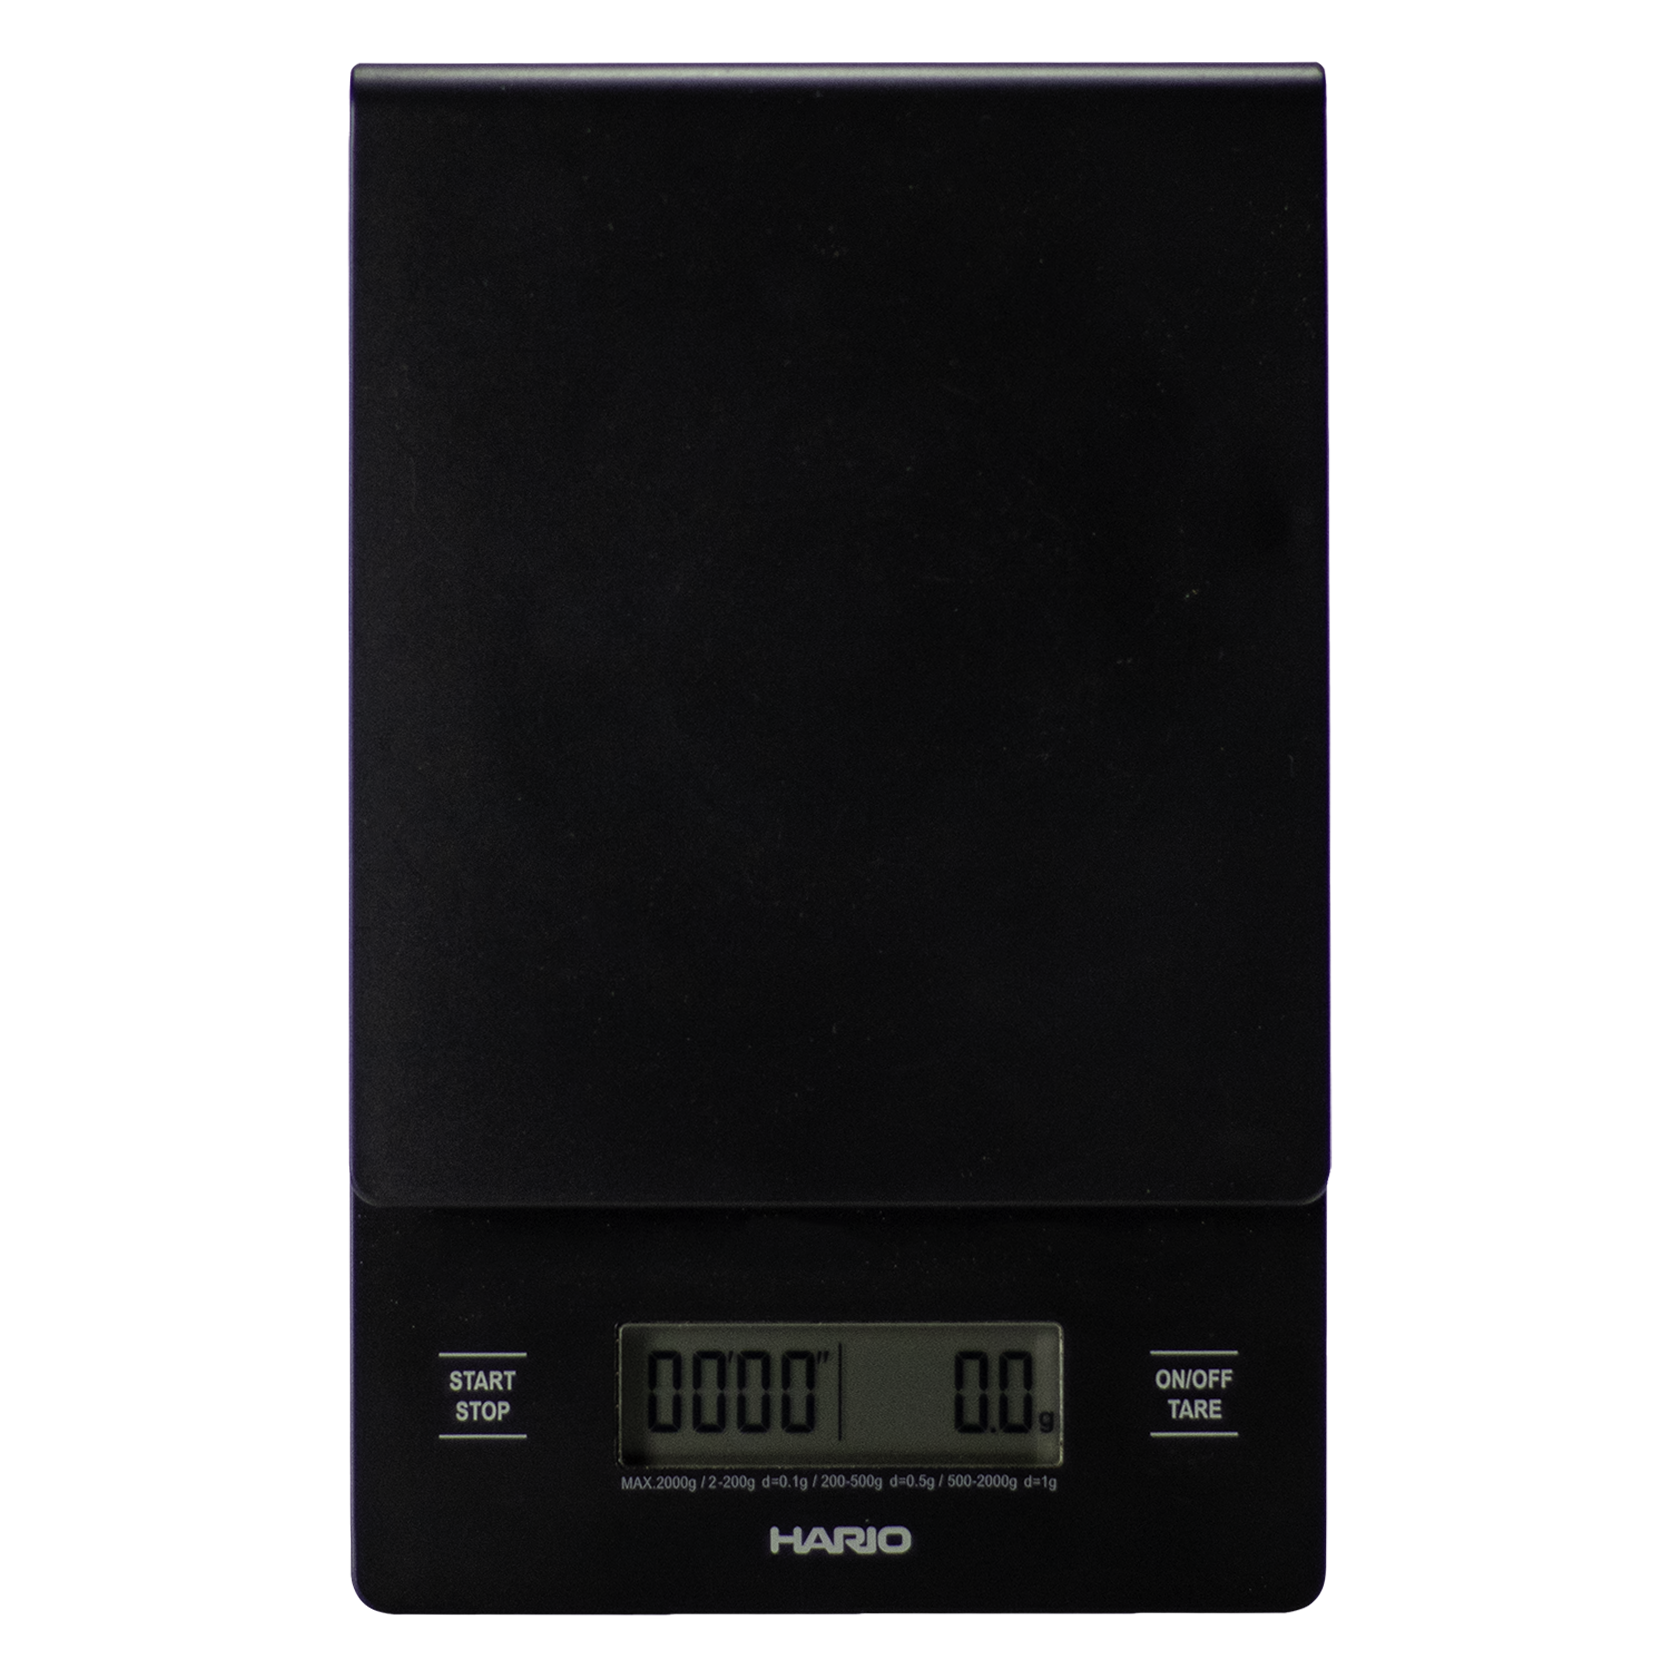
Scale
-
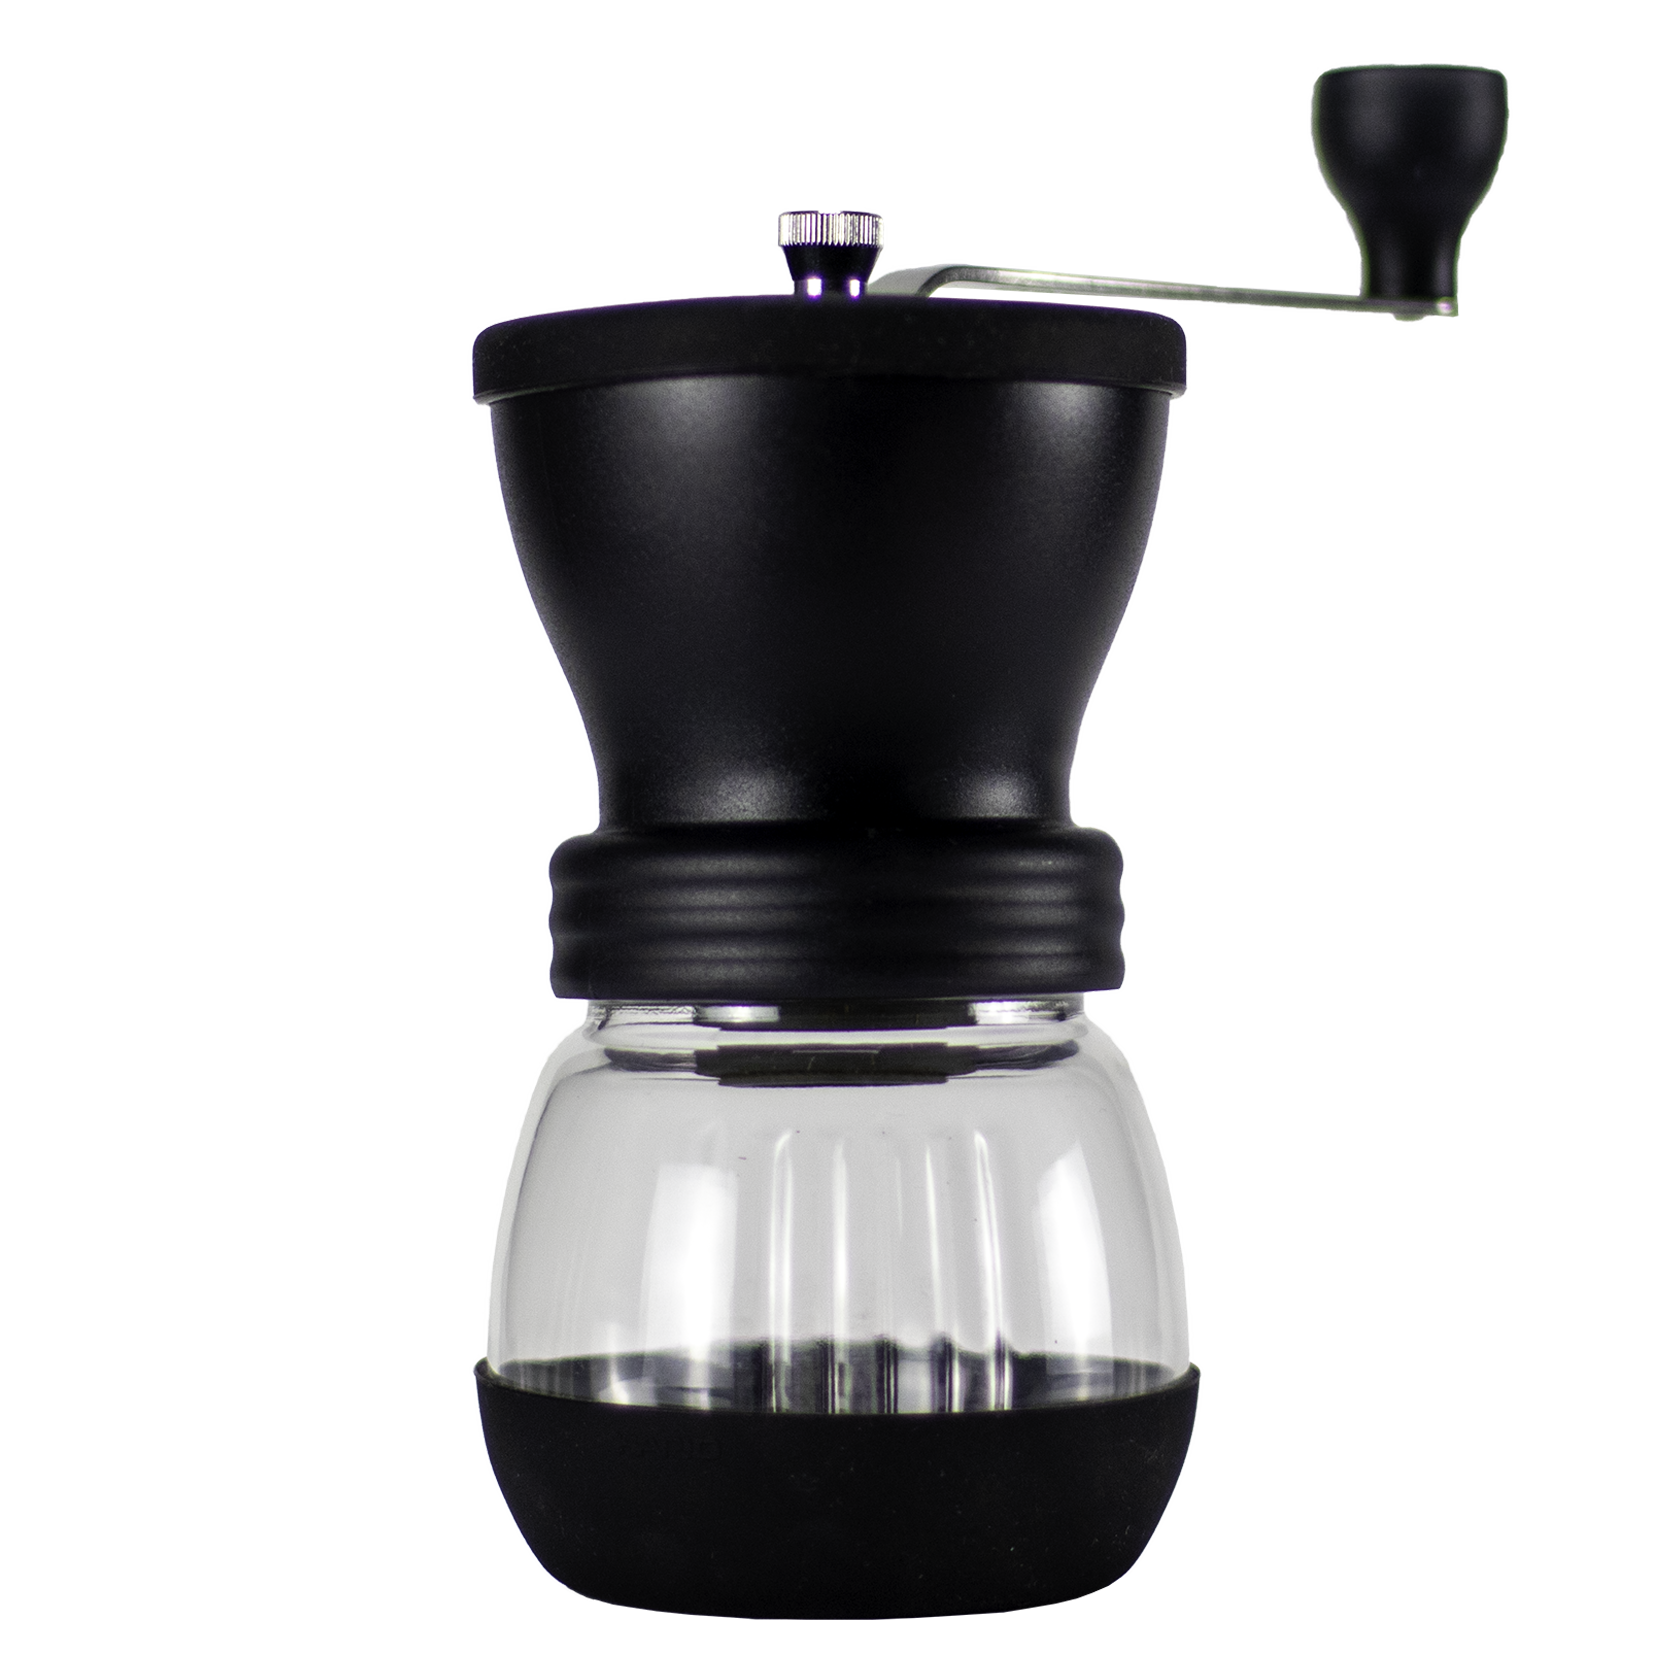
Coffee Grinder
-
Whole Bean Coffee
44g
-
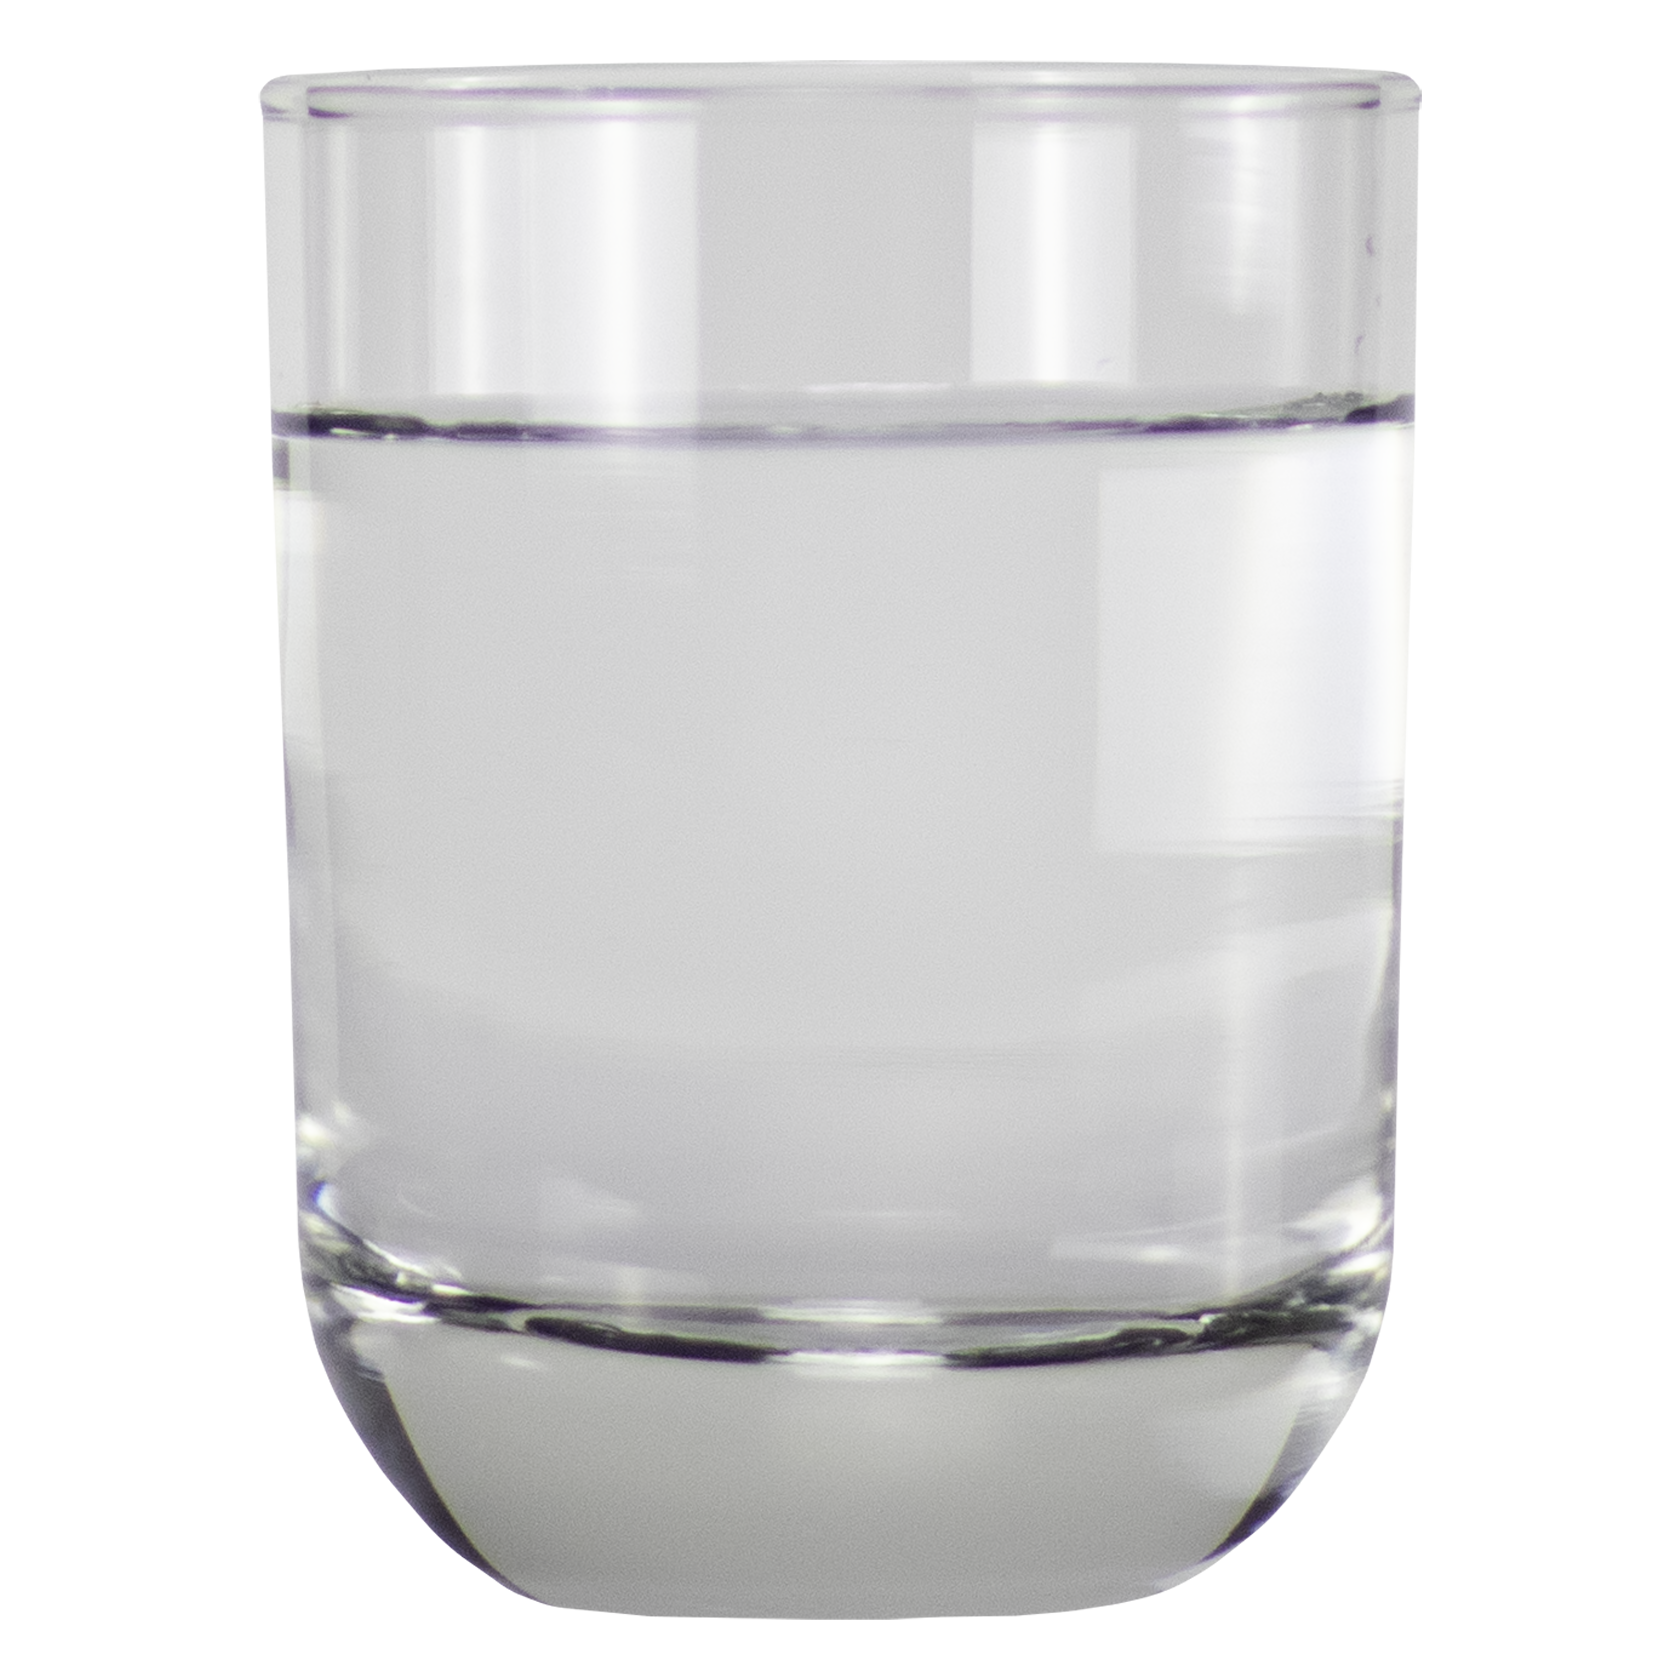
Filtered Water
1000mL
-

Your Favorite Mug


Let's Brew It
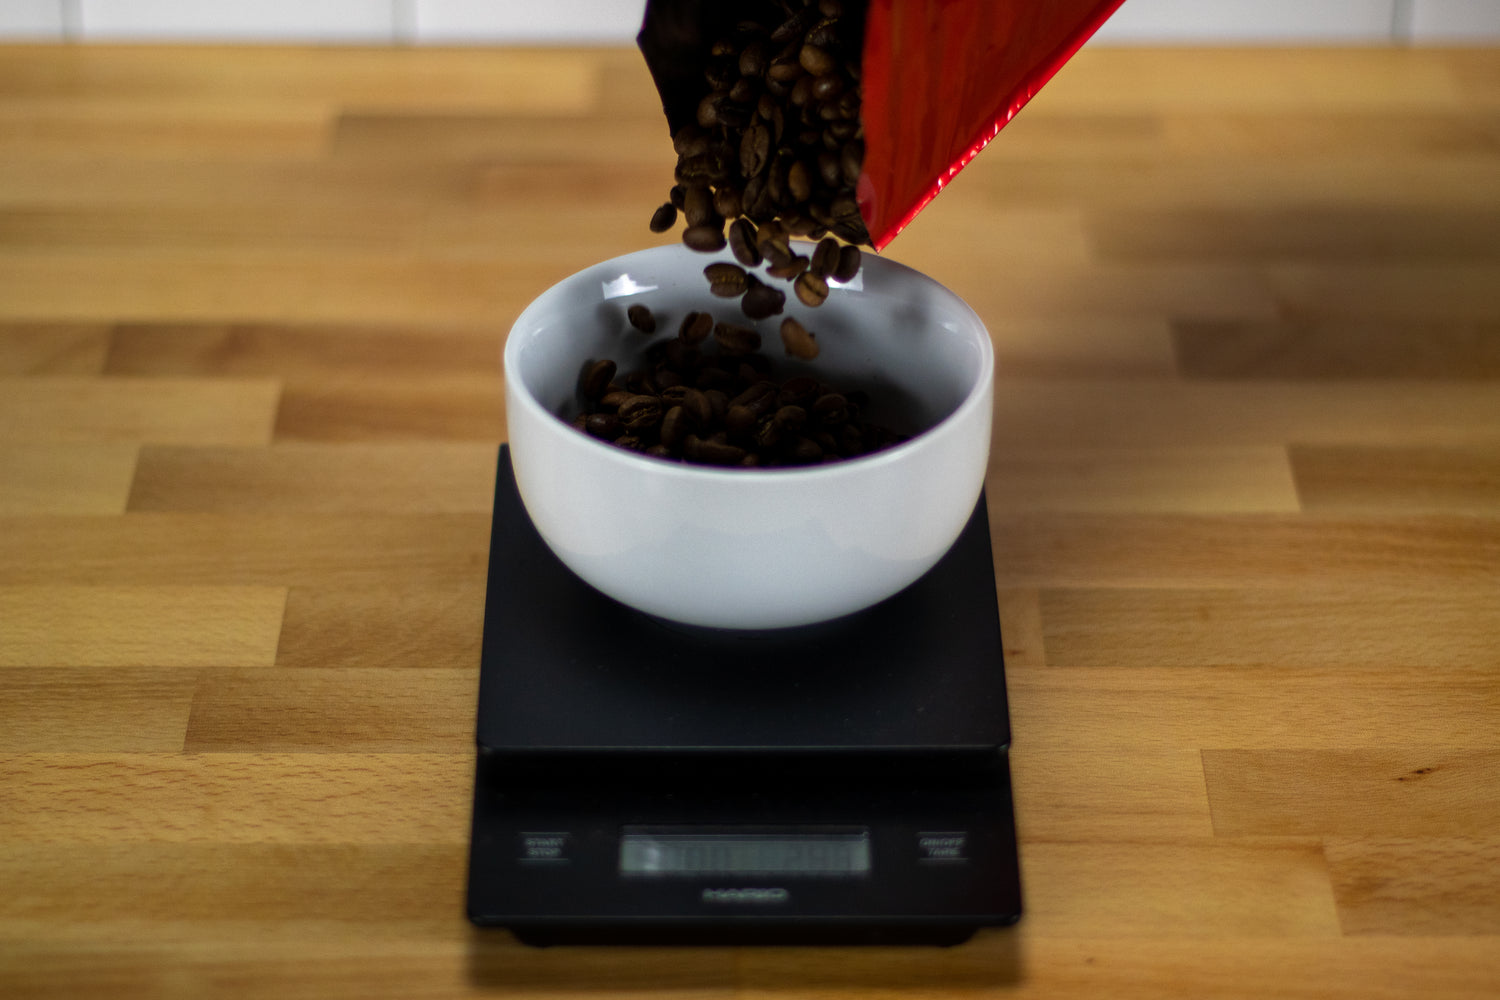
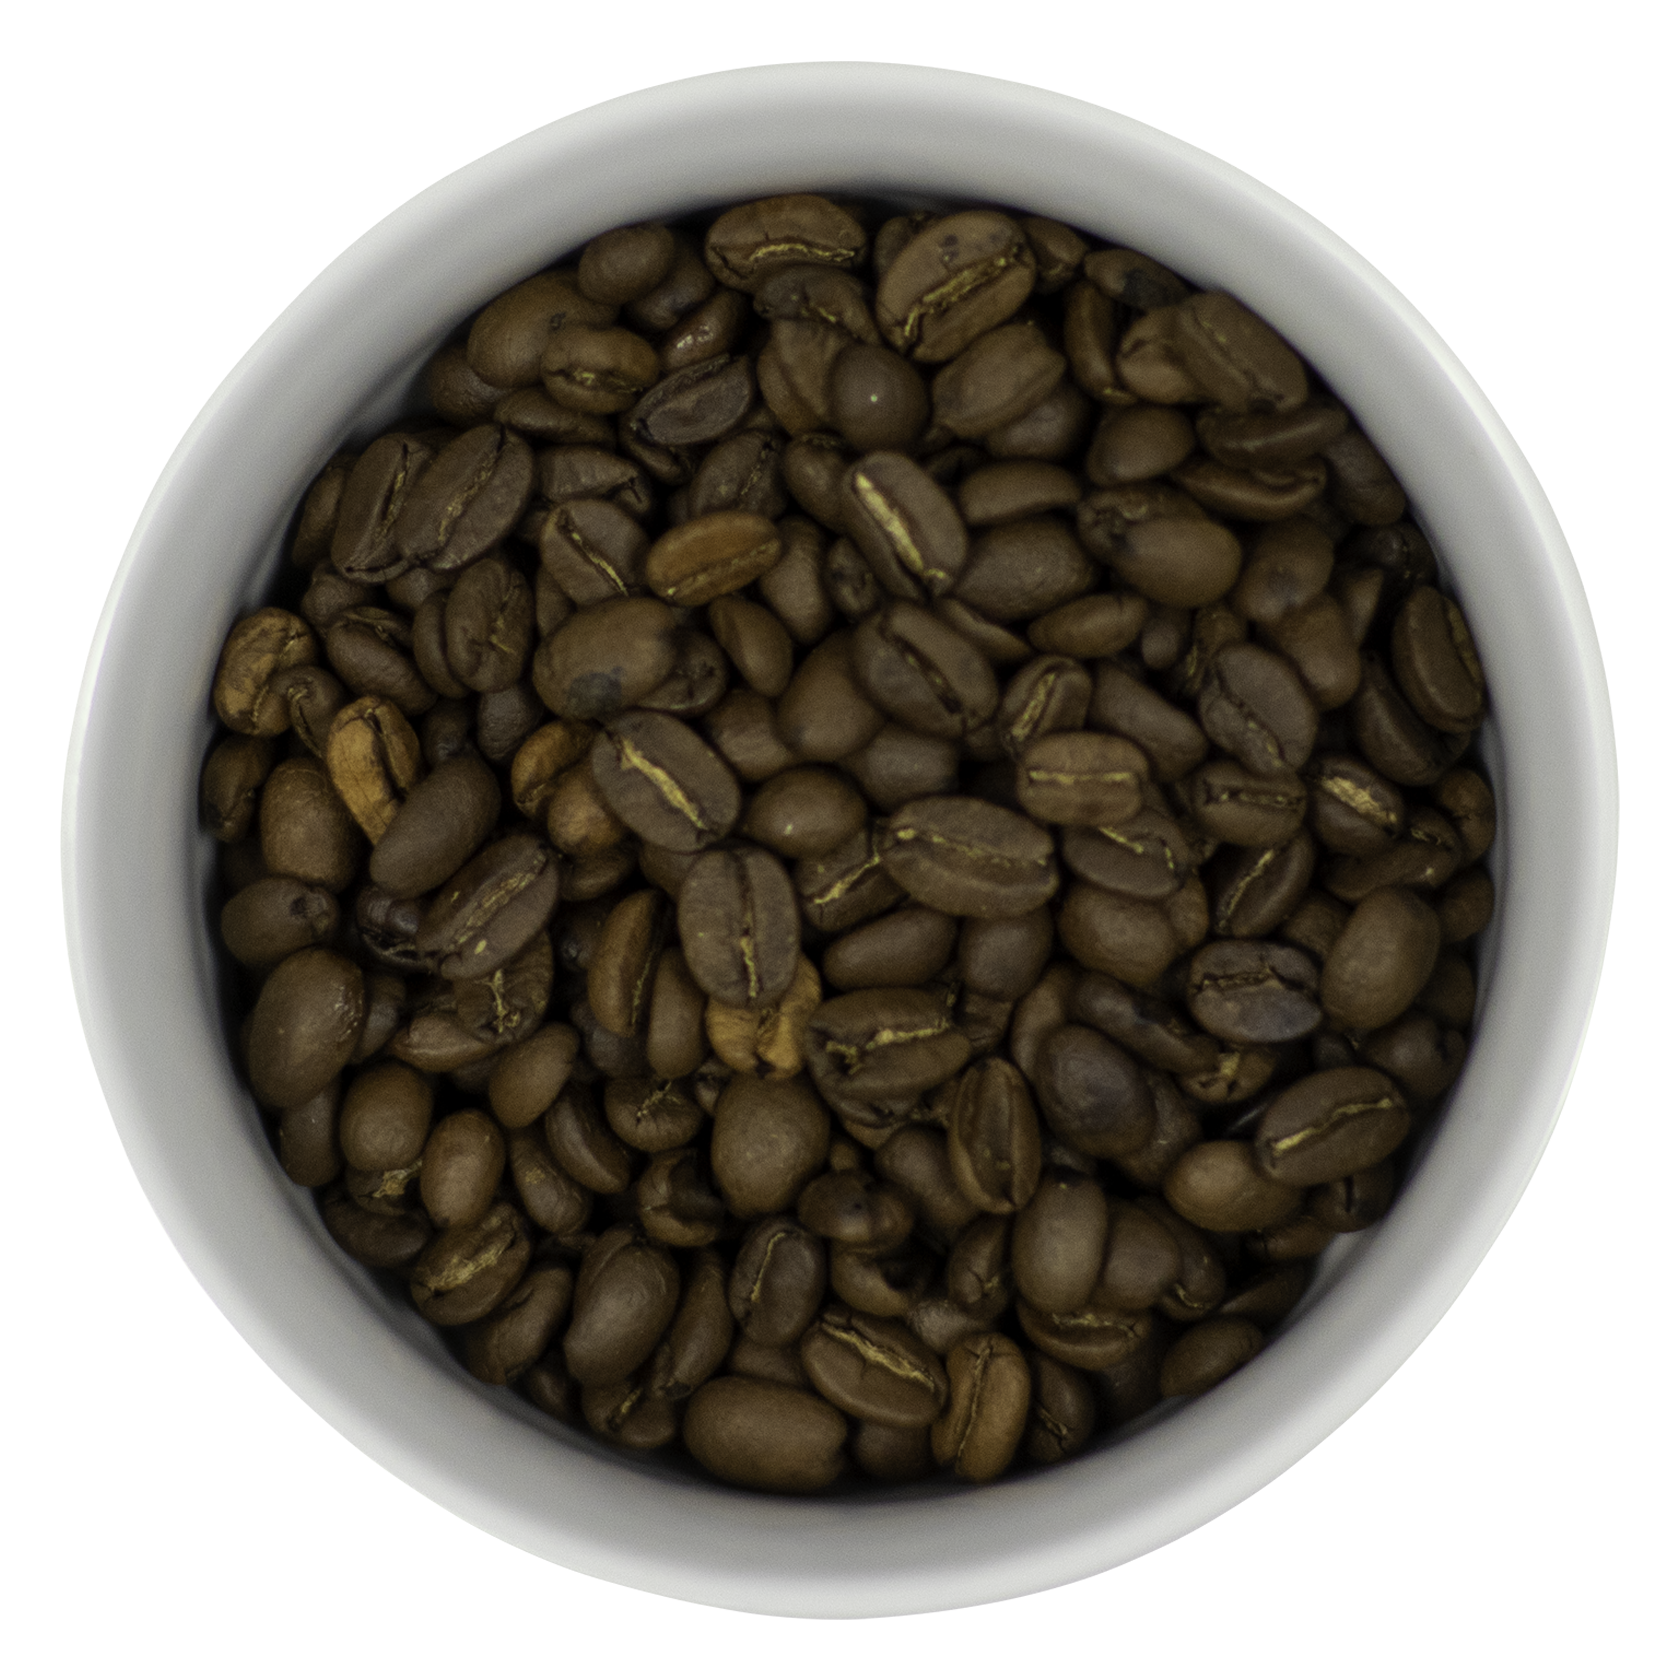
Step 1: Weigh Coffee
For brewing a Chemex, we will be using a ratio of 1 part coffee to 16 parts water (1:16). This means for a 6 cup Chemex, we'll need 44g of coffee and 700mL of water.
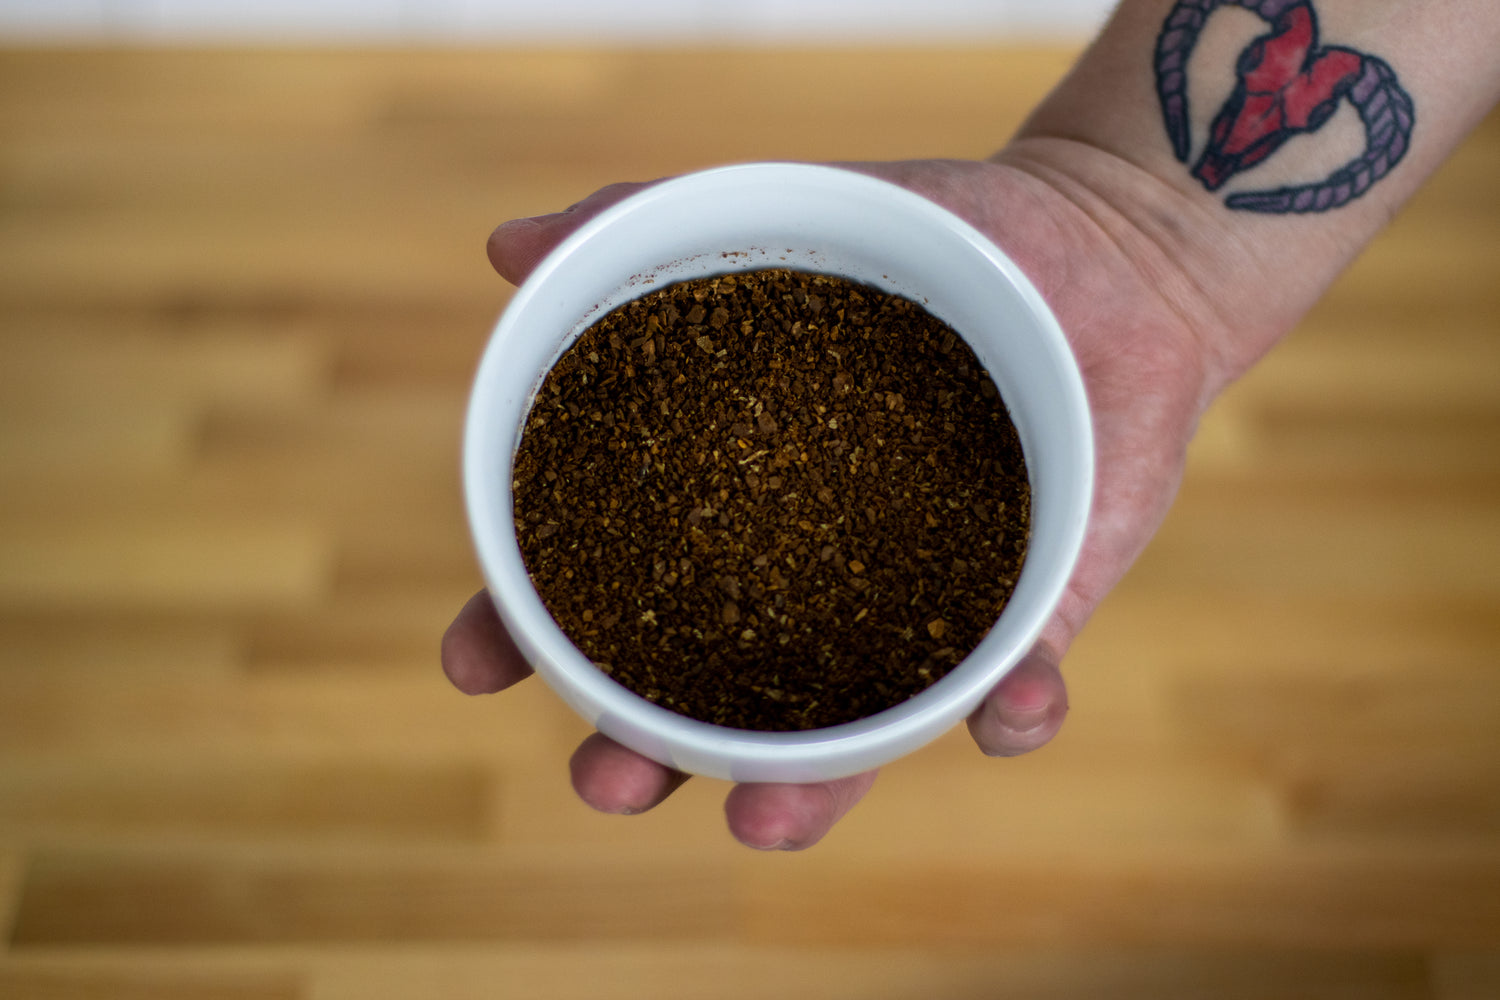
Step 2: Grind Coffee
When brewing with a Chemex, you want to grind your coffee to medium-coarse. Your ground coffee should look slightly more coarse than table salt.
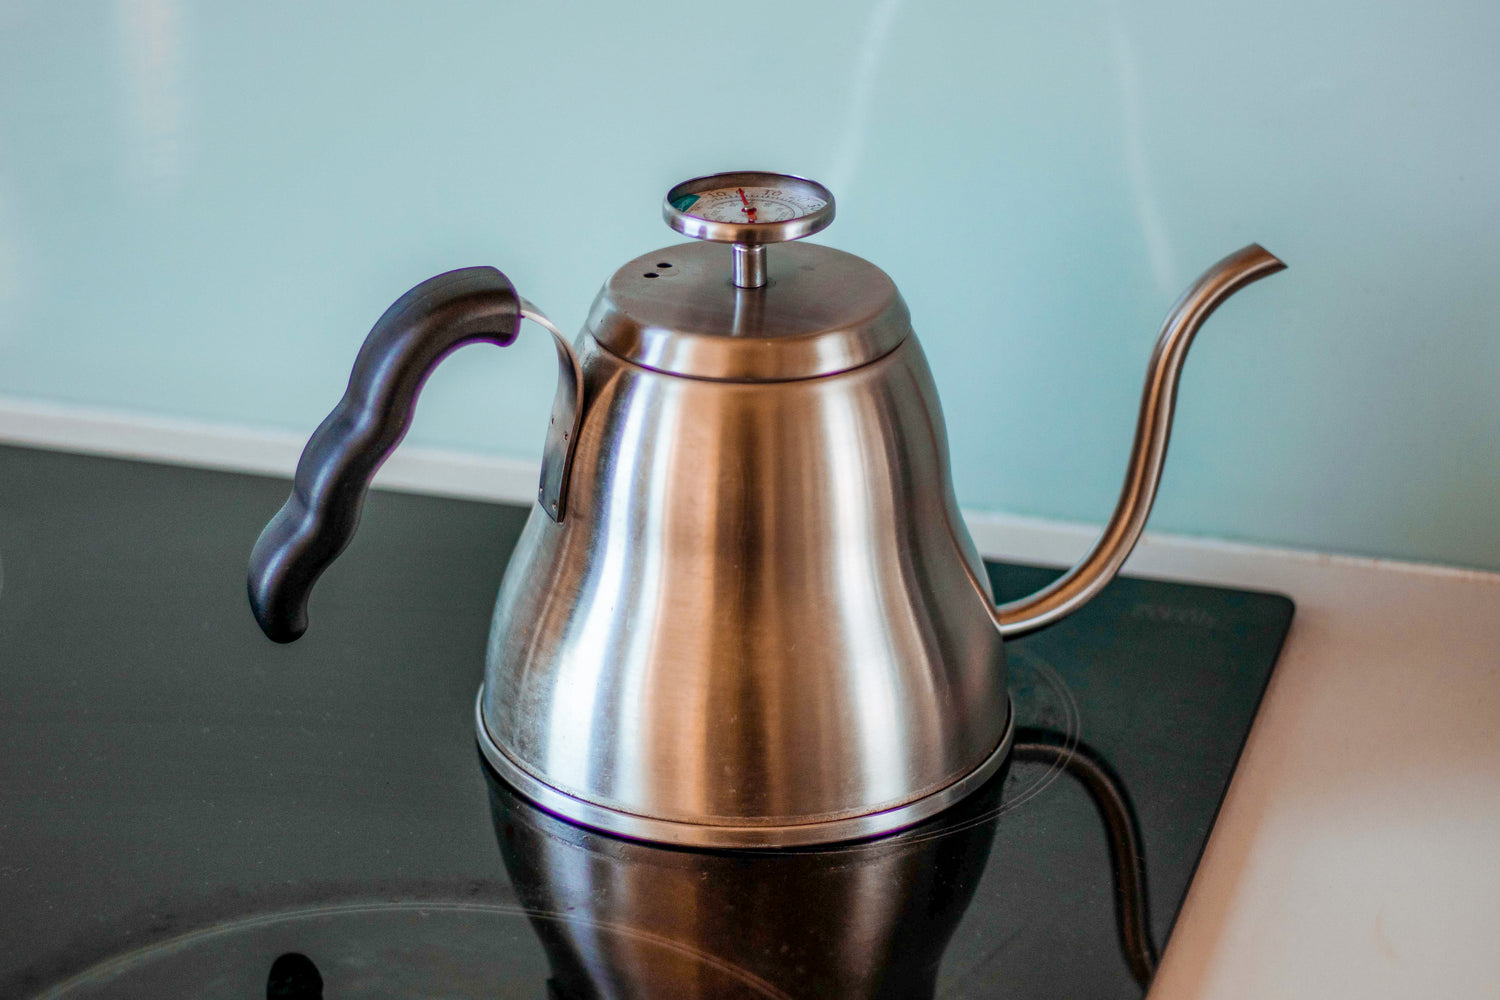
Step 3: Boil Water
Fill your kettle with cold, filtered water (about 1000mL) and heat it to a boil.

Step 4: Prepare Filter
For the best brew, you'll want to use an unbleached paper filter. The type of Chemex filter that we used in this guide is a pre-folded square, but Chemex offers a variety of other filter options depending on your preference. Open the filter to make a cone, and place the filter into the Chemex with the triple-layered side against the spout. Placing the triple-layered side against the spout helps to keep the filter from collapsing into the spout, ensuring a more even extraction.

Step 5: Rinse Filter
Once your water is boiling and your filter is in place, take your kettle off the heat and pour some water over the filter. Make sure that you evenly wet the entire portion of the filter that is touching the glass of the Chemex. Rinsing your filter before brewing helps create a seal between the filter and the Chemex, and also removes any paper flavors from the filter that would otherwise be imparted into your final brew. As the water drips from the filter into the Chemex, swirl the hot water around to preheat the brewer. Dump your rinse water.
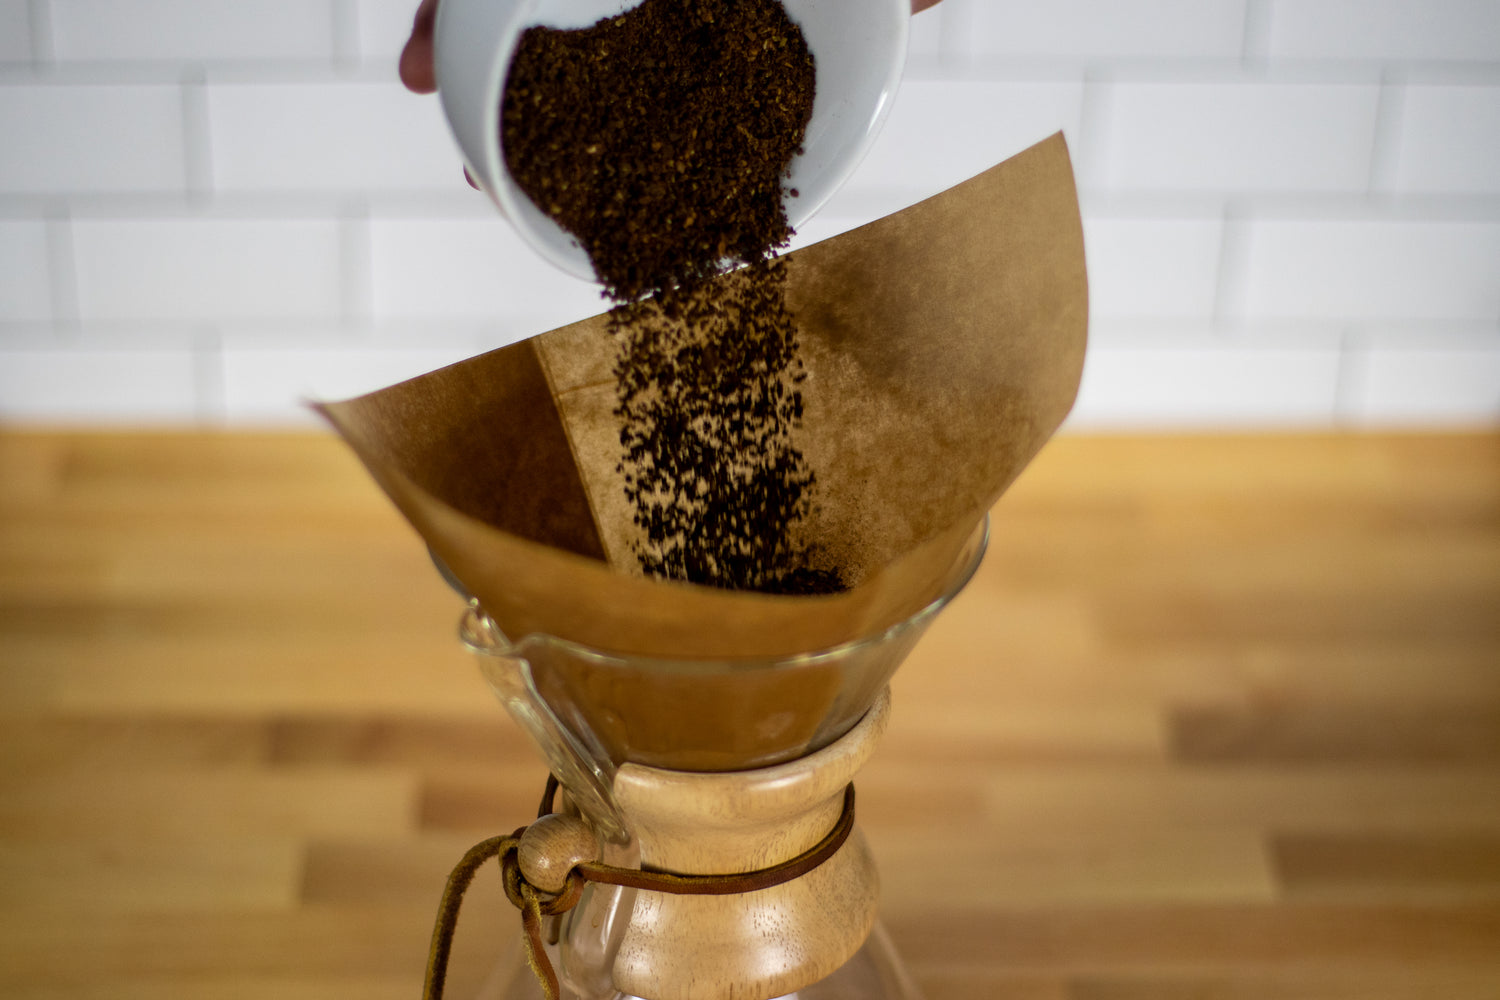
Step 6: Add Coffee
Place your Chemex on the scale and tare it. Add your ground coffee to the filter, double-checking your coffee weight, and then tare your scale again.
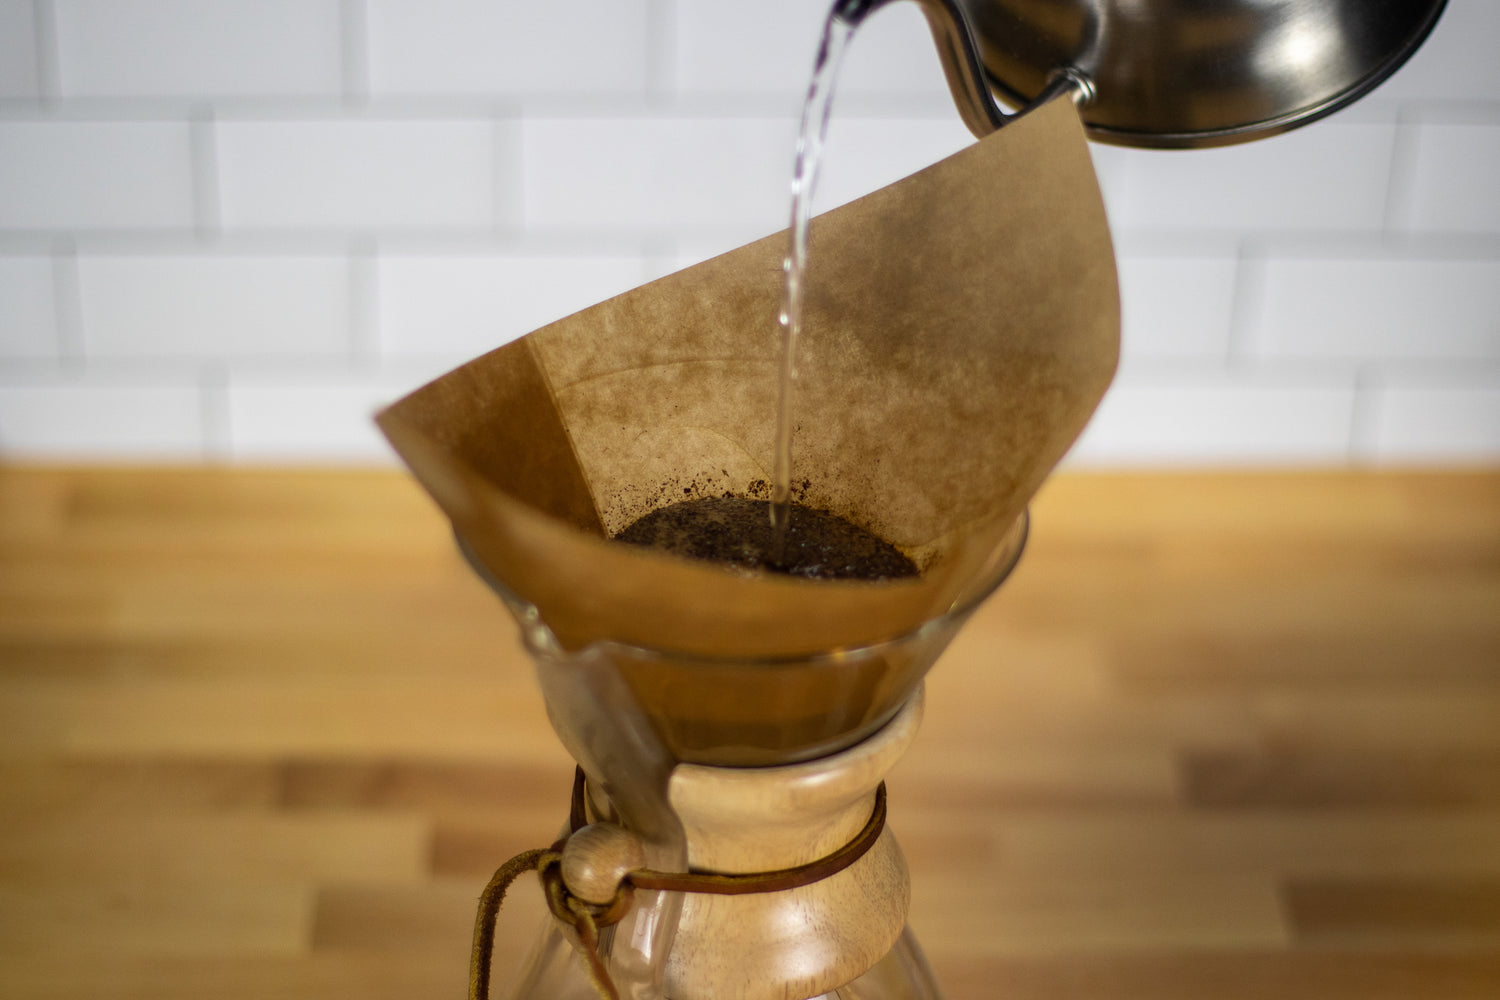
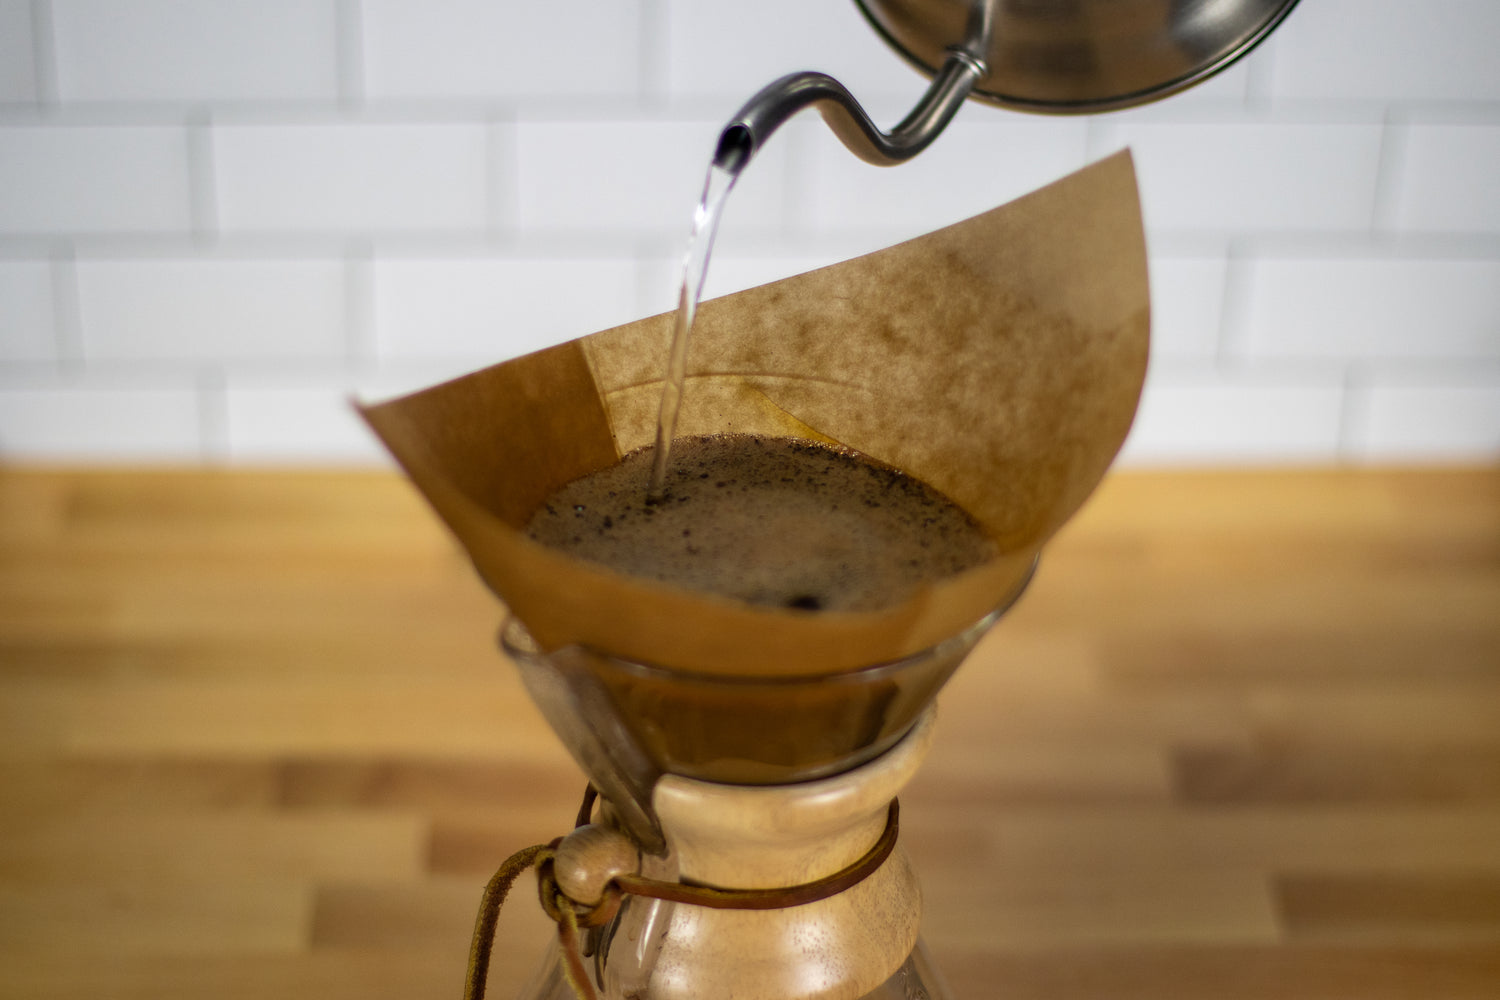
Step 7: Bloom
Start the timer on your scale and pour hot water onto your ground coffee in a slow, spiral motion. Your water should be around 200°F, not boiling; this will allow the most extraction without scorching your ground coffee. You want to pour enough water that you double the weight of your ground coffee. For this recipe, you will want to pour 88g of water during the bloom phase (double our 44g weight of ground coffee). Make sure that all of your ground coffee is evenly saturated, and allow your coffee to bloom for 30 seconds.
A Note On Blooming
Step 8: Main Pours
After your coffee has bloomed, start adding more water (again, around 200°F) slowly and carefully. Pour your hot water in spiral motions, ensuring that you keep all of your coffee grounds evenly saturated. For each main pour, look to add about 200g of hot water. Allow your coffee to brew for approximately 45 seconds to 1 minute between pours. Continue in this pattern until you reach your target brew weight; for this recipe, we are looking for a final weight of 700g.

Step 9: Let Brew
Ready, set, wait! Allow your coffee to continue brewing, watching as the coffee drips from the filter into the Chemex. Your brew is ready when coffee stops dripping; your total time from start of bloom to end of brewing should be between 3:30 and 4:30 minutes. If your brew time is shorter than 3:30 minutes, try pouring your water a little more slowly or grinding your coffee a little more finely. If it takes longer than 4:30 minutes, you might need to pour a little more quickly or grind your coffee a little more coarse.
A Note On Brew Times
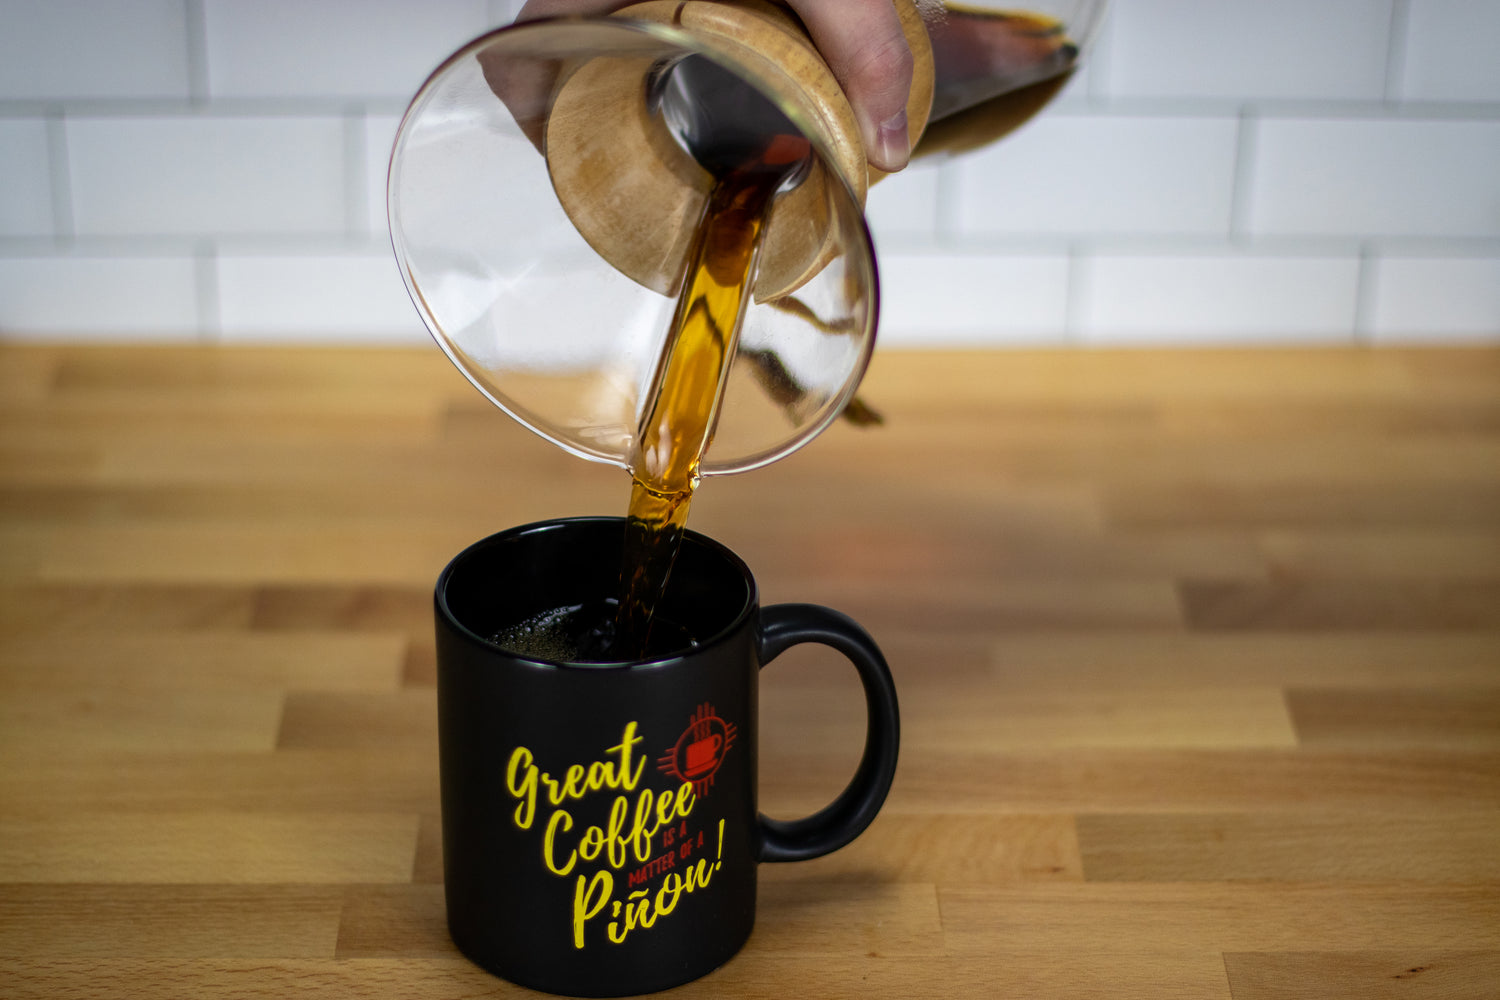
Step 10: Enjoy!
Now it's time for our favorite part - enjoying a delicious cup of freshly brewed coffee! Remove the filter with your coffee grounds and pour yourself a nice, hot mug of coffee.
A Note On Filters and Coffee
Our Favorite Coffees to Brew with Chemex
-
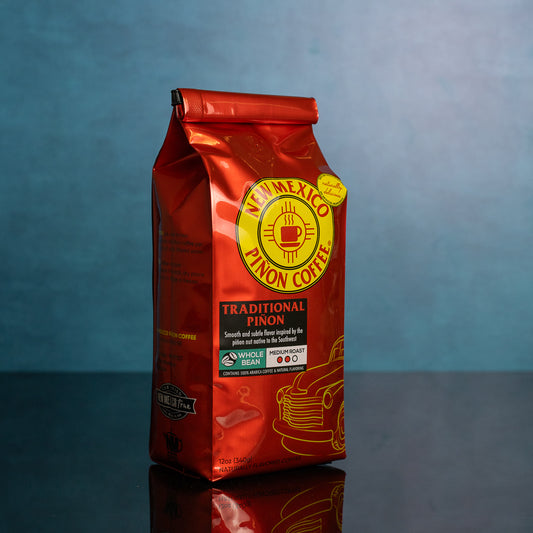
Traditional Piñon
Regular price From $12.00Regular priceUnit price per -
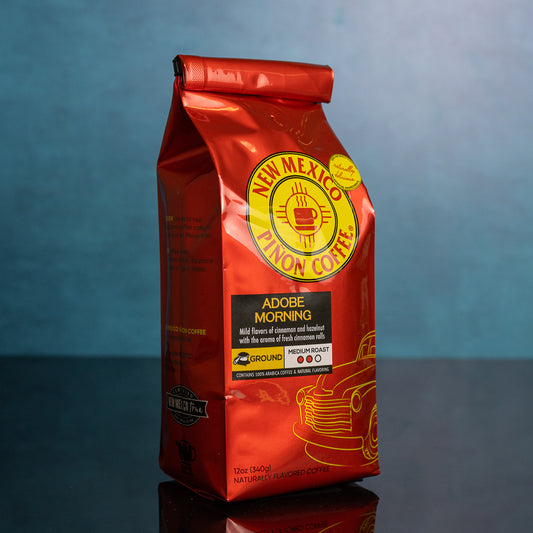
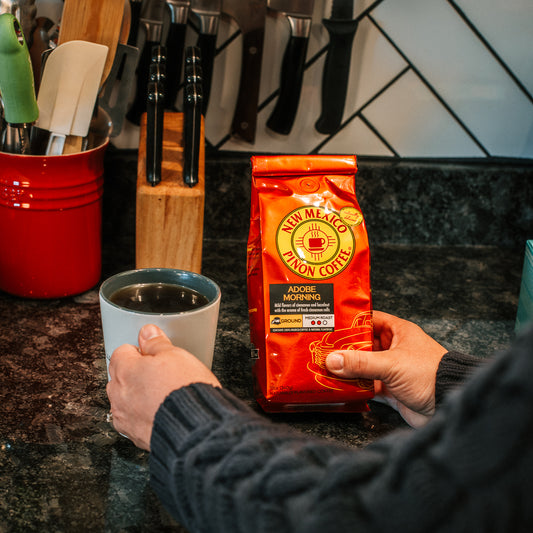
Adobe Morning
Regular price From $12.00Regular priceUnit price per$0.00Sale price From $12.00 -
Dark Piñon
Regular price From $12.00Regular priceUnit price per -
Biscochito
Regular price From $12.00Regular priceUnit price per$0.00Sale price From $12.00